You might have signed up with Facebook on multiple platforms like Spotify, Netflix, Instagram, Airbnb, and a lot more. It is the simplest and most reliable way that saves time and makes your life easy. All these platforms are built on React and use the same API provided by Facebook that can be integrated into your local app as well.
To integrate Facebook authentication and login in React application, there are multiple libraries available, so we are going to use the 'react-facebook-login' one.
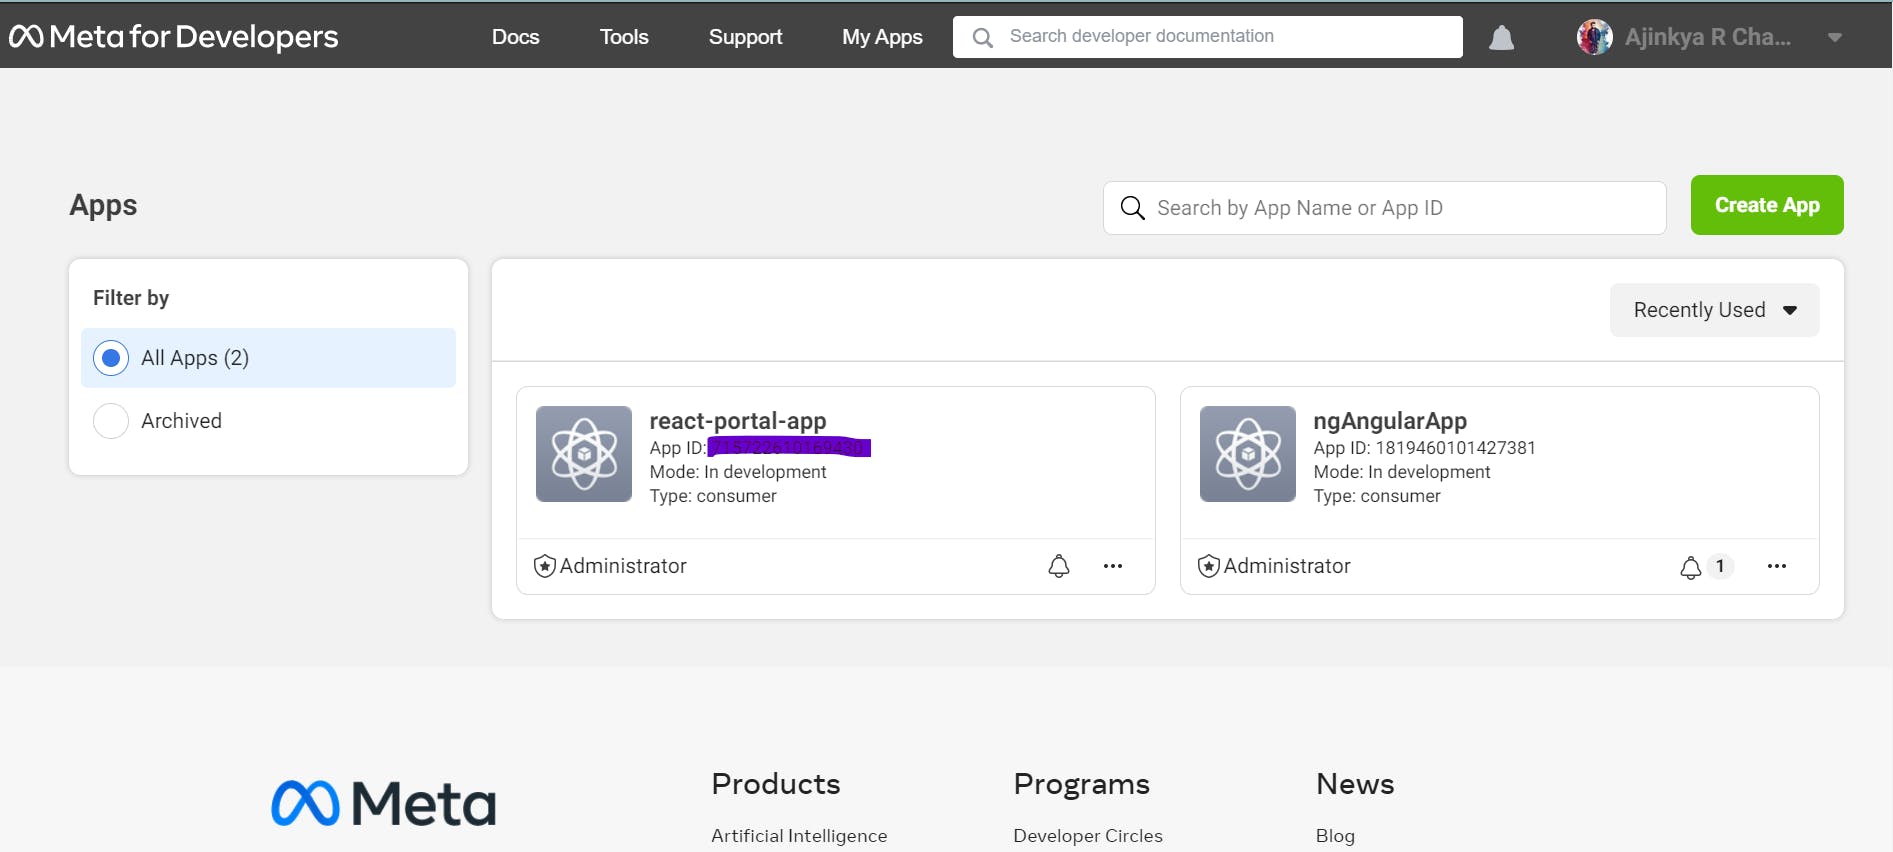
First, you need to have a Facebook account and then you can go to the Developer console here- https://developers.facebook.com/apps

Now, you can create a new app from the button

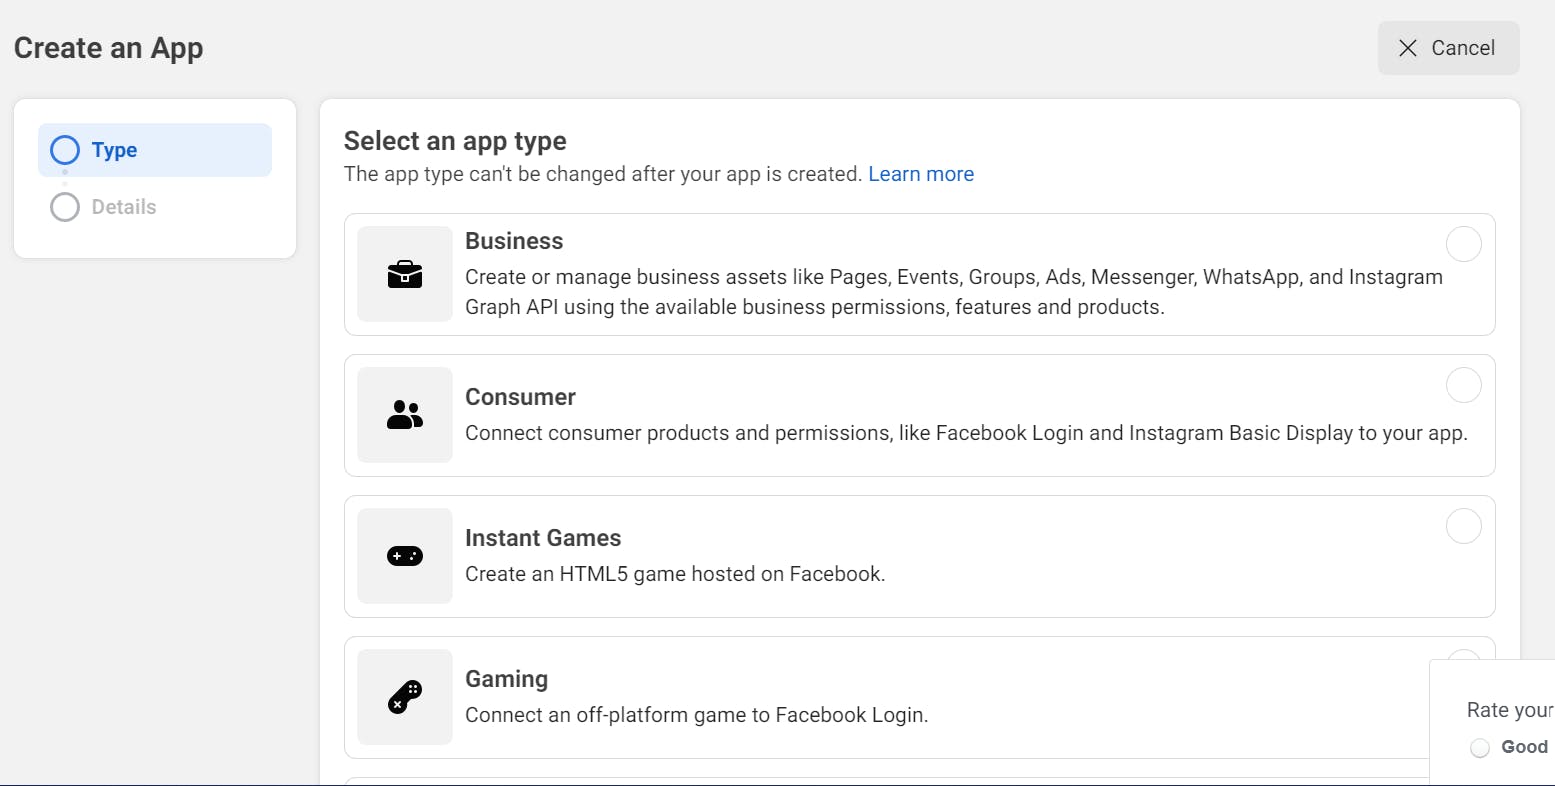
After that, you can start with any of the options which provide a different range of data, but for our scope as of now, you can select "Business".

Now, you can select the app name as per your convenience like 'react-login-app', and proceed further to create app.

Now your app is ready with the APP ID as shown on the menu bar.
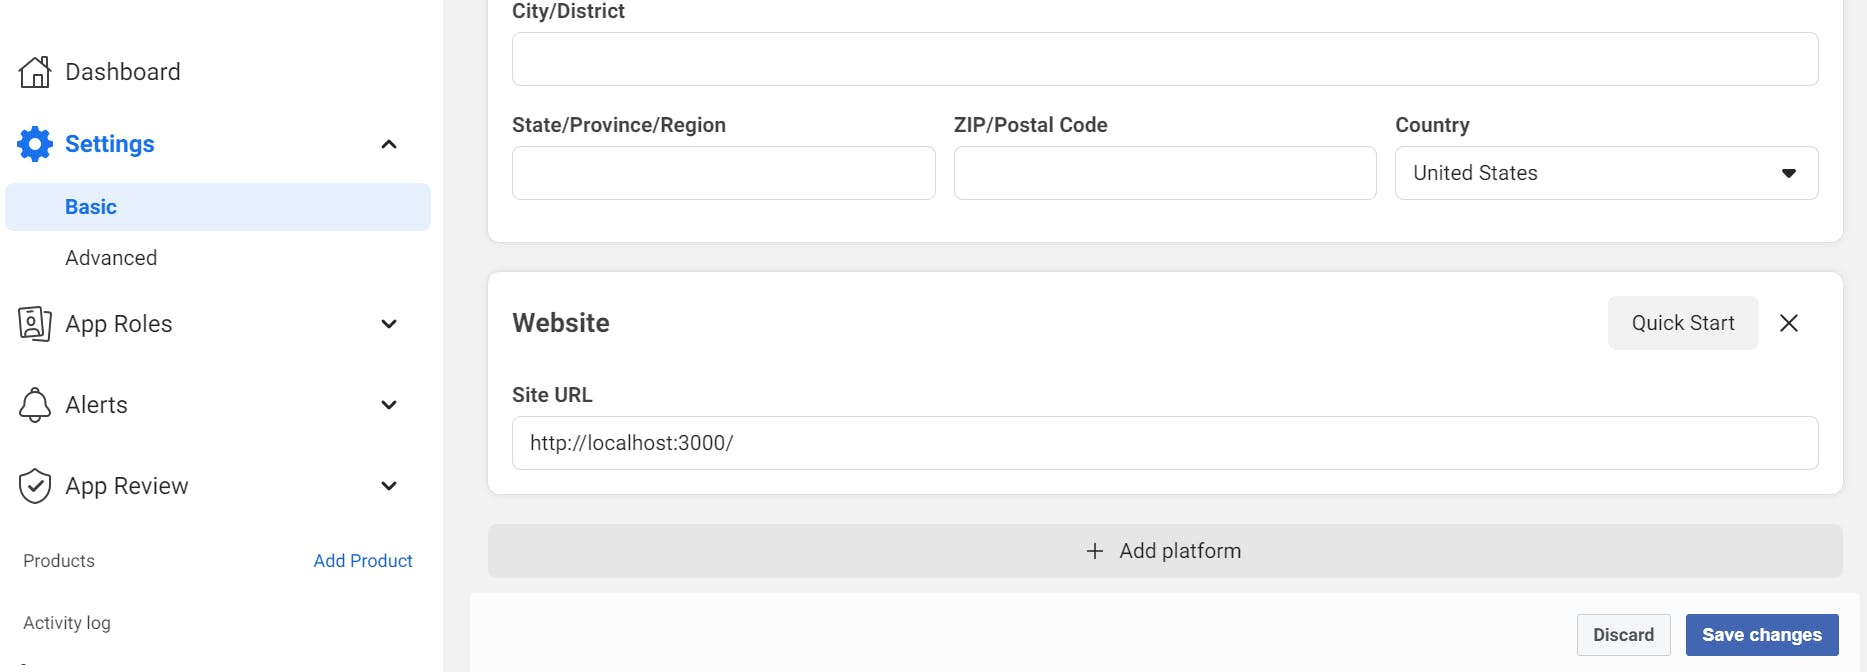
Again you have to click settings > basic > add platform at the bottom of the page. Then you'll able to see this popup and select the web option.

Once you select the web option, select the 'add platform' at the bottom and add the url as shown.

now, we can start with the integration of the same with React app.
First, create React app
npx create-react-app react-facebook-login-appThen move inside the app folder with the command:
cd react-facebook-login-appInstall bootstrap library package
npm install bootstrap --saveNow, install the react-facebook-login package
npm install react-facebook-loginCreate Facebook login component as FacebookLoginComponent.js
 import React, { useState } from "react";
 import FacebookLogin from "react-facebook-login";
 import "./App.css";

 function FacebookLoginComponent() {
   const [login, setLogin] = useState(false);
   const [data, setData] = useState({});
   const [picture, setPicture] = useState("");

   const responseFacebook = (response) => {
     console.log(response);
     // Login failed
     if (response.status === "unknown") {
       alert("Login failed!");
       setLogin(false);
       return false;
     }
     setData(response);
     setPicture(response.picture.data.url);
     if (response.accessToken) {
       setLogin(true);
     } else {
       setLogin(false);
     }
   };
   const logout = () => {
     setLogin(false);
     setData({});
     setPicture("");
   };

   return (
     <div className="container">
       {!login && (
         <FacebookLogin
           appId="569720507786195"
           autoLoad={false}
           fields="name,email,picture"
           scope="public_profile,email,user_friends"
           callback={responseFacebook}
           icon="fa-facebook"
         />
       )}

       {login && (
         <div className="card">
           <div className="card-body">
             <img className="rounded" src={picture} alt="Profile" />
             <h5 className="card-title">{data.name}</h5>
             <p className="card-text">Email ID: {data.email}</p>
             <a href="#" className="btn btn-danger btn-sm" onClick={logout}>
               Logout
             </a>
           </div>
         </div>
       )}
     </div>
   );
 }

 export default FacebookLoginComponent;
Now, you have to replace the appId with yours one.
Add the selector to this component in app.js file.
 import './App.css';
 import '../node_modules/bootstrap/dist/css/bootstrap.min.css';
 import FacebookLoginComponent from './facebooklogin.component';

 function App() {
   return (
     <div className="App">
        <h1>Facebook Login Tutorial in React App</h1>

        <FacebookLoginComponent />

     </div>
   );
 }

 export default App;
Run the application with
npm startand check on http://localhost:3000

That's it. you can check out the example here-
%[https://codesandbox.io/s/react-facebook-login-example-6369em?file=/src/FacebookLoginComponent.js]
https://codesandbox.io/s/react-facebook-login-example-6369em?file=/src/FacebookLoginComponent.js
Happy coding, Thank you!
